Chapter 2: Preparing the DryBase housing
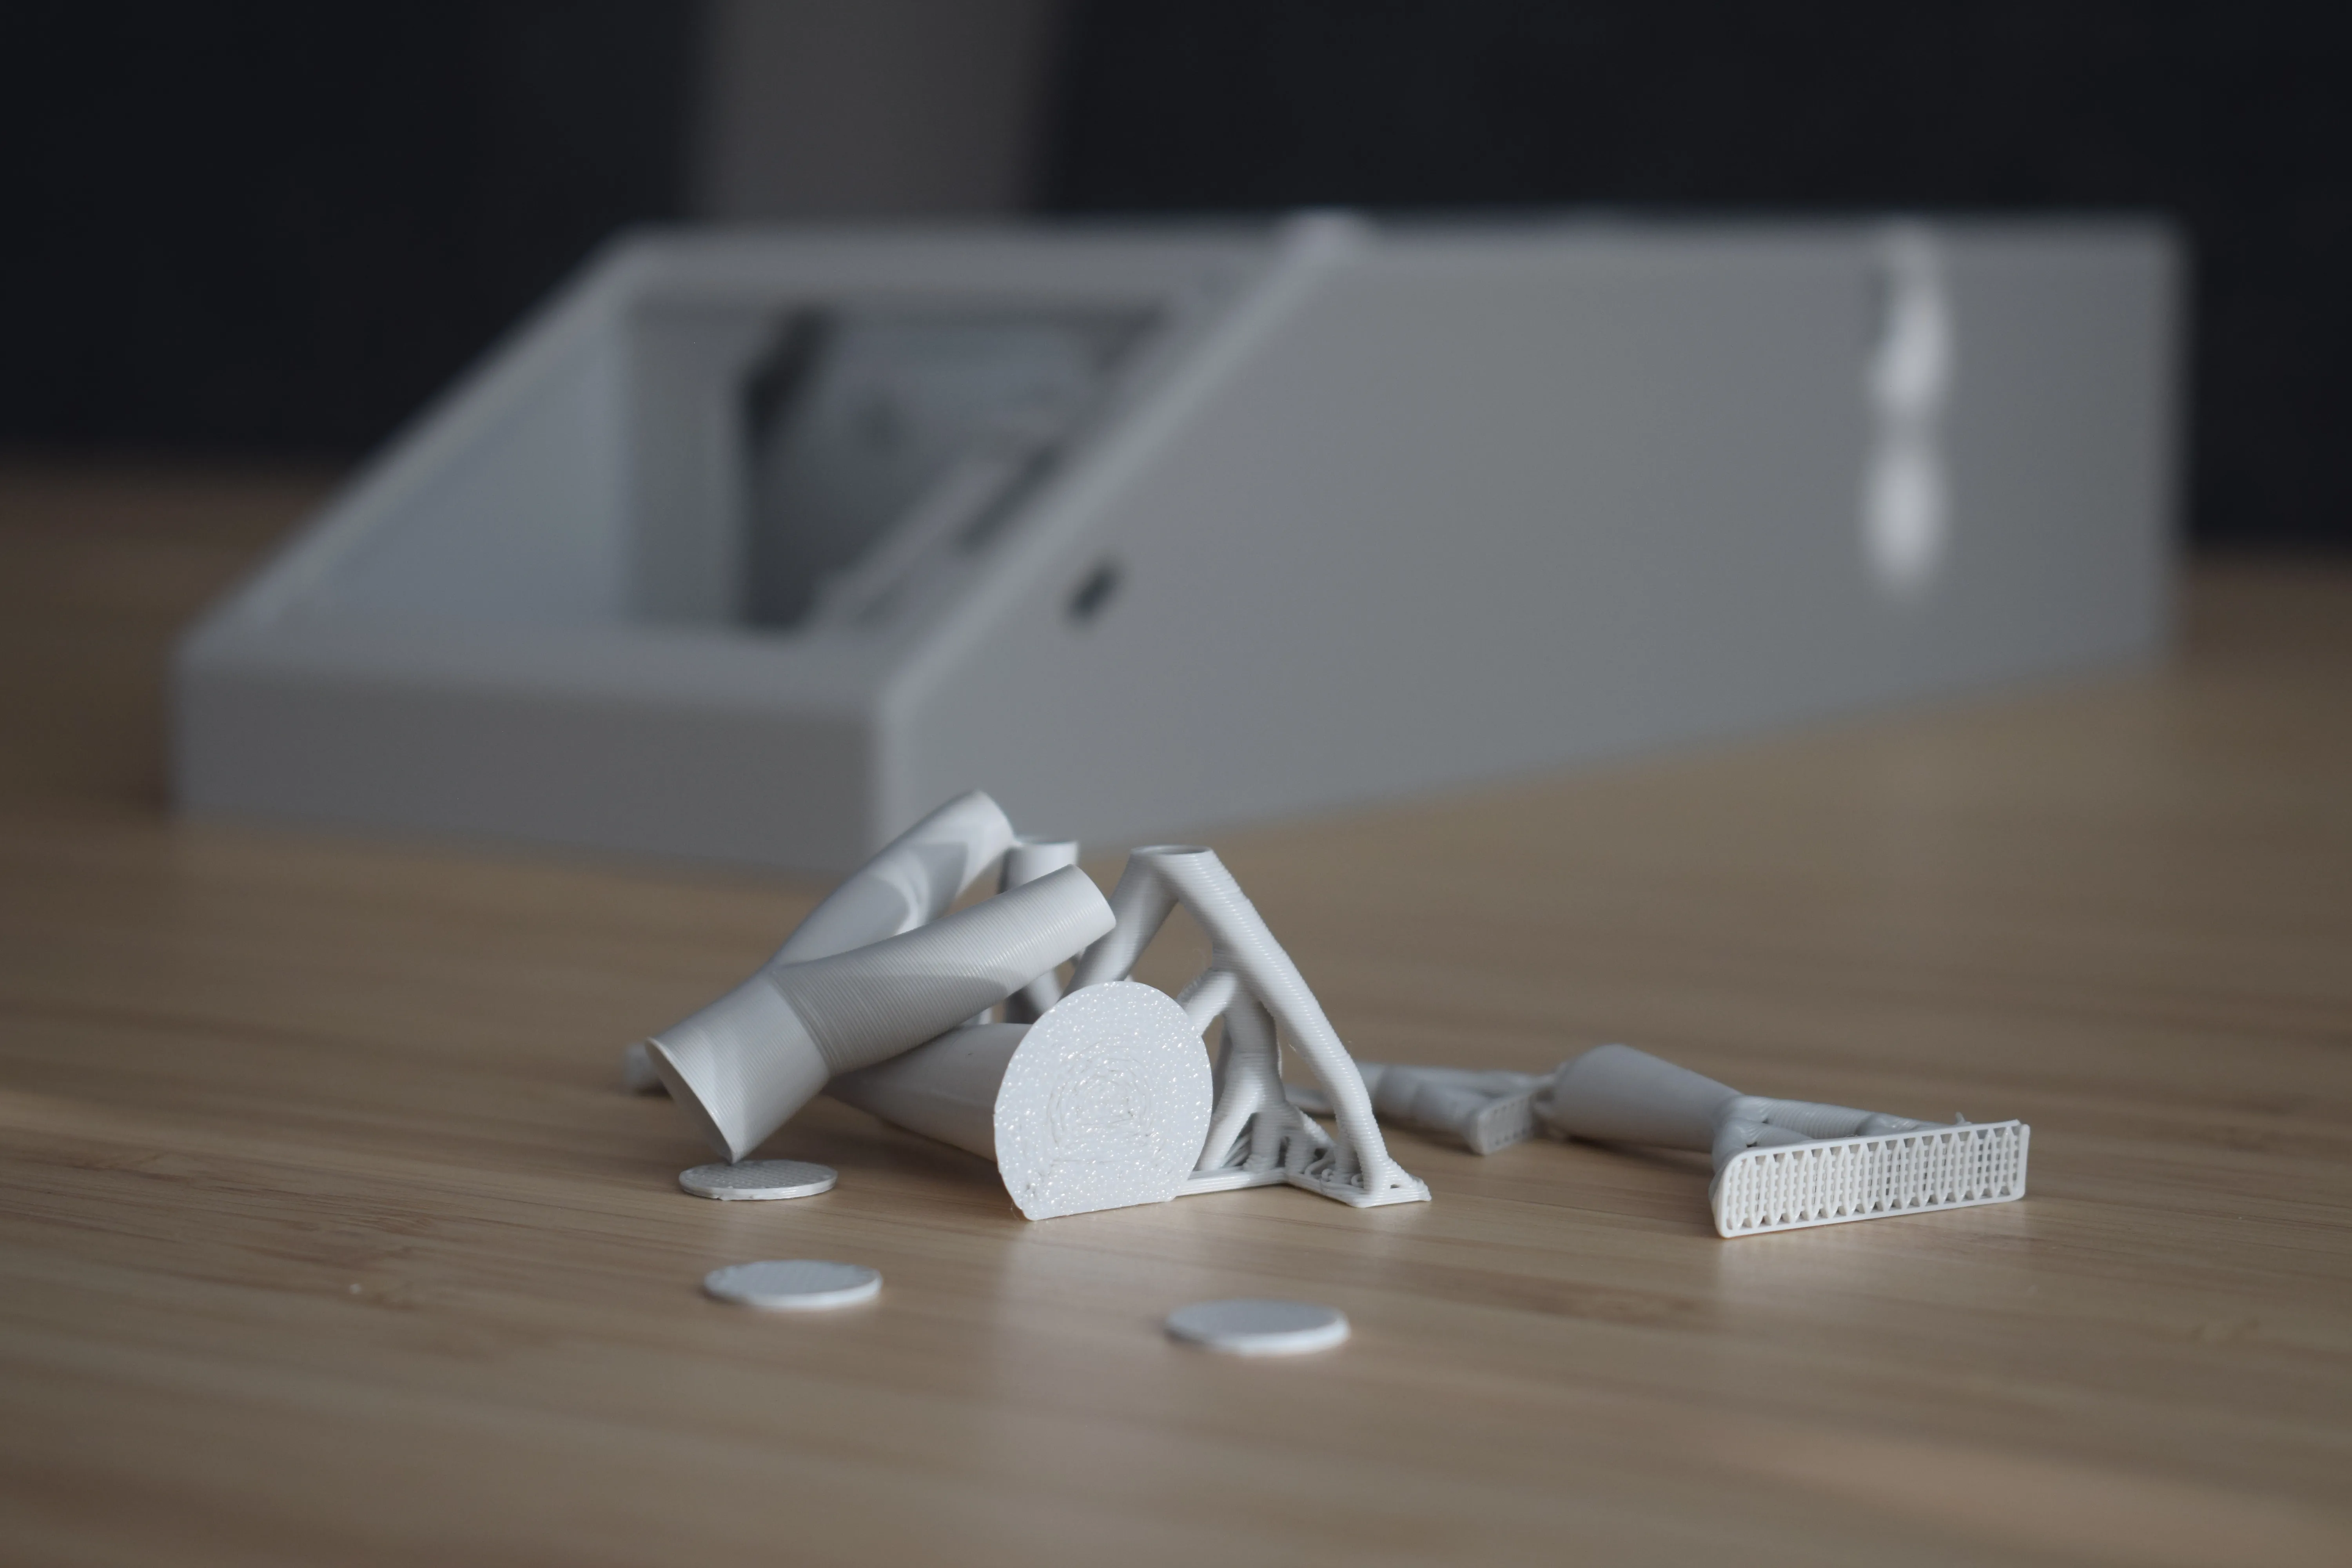
After printing your DryBase housing, it needs to be cleaned up before assembly. This chapter covers removing all support material.
Step 1: Removing top support material
Locate and remove the tree support material from the inside of the housing. There are four locations, indicated by the red circles in the image below.
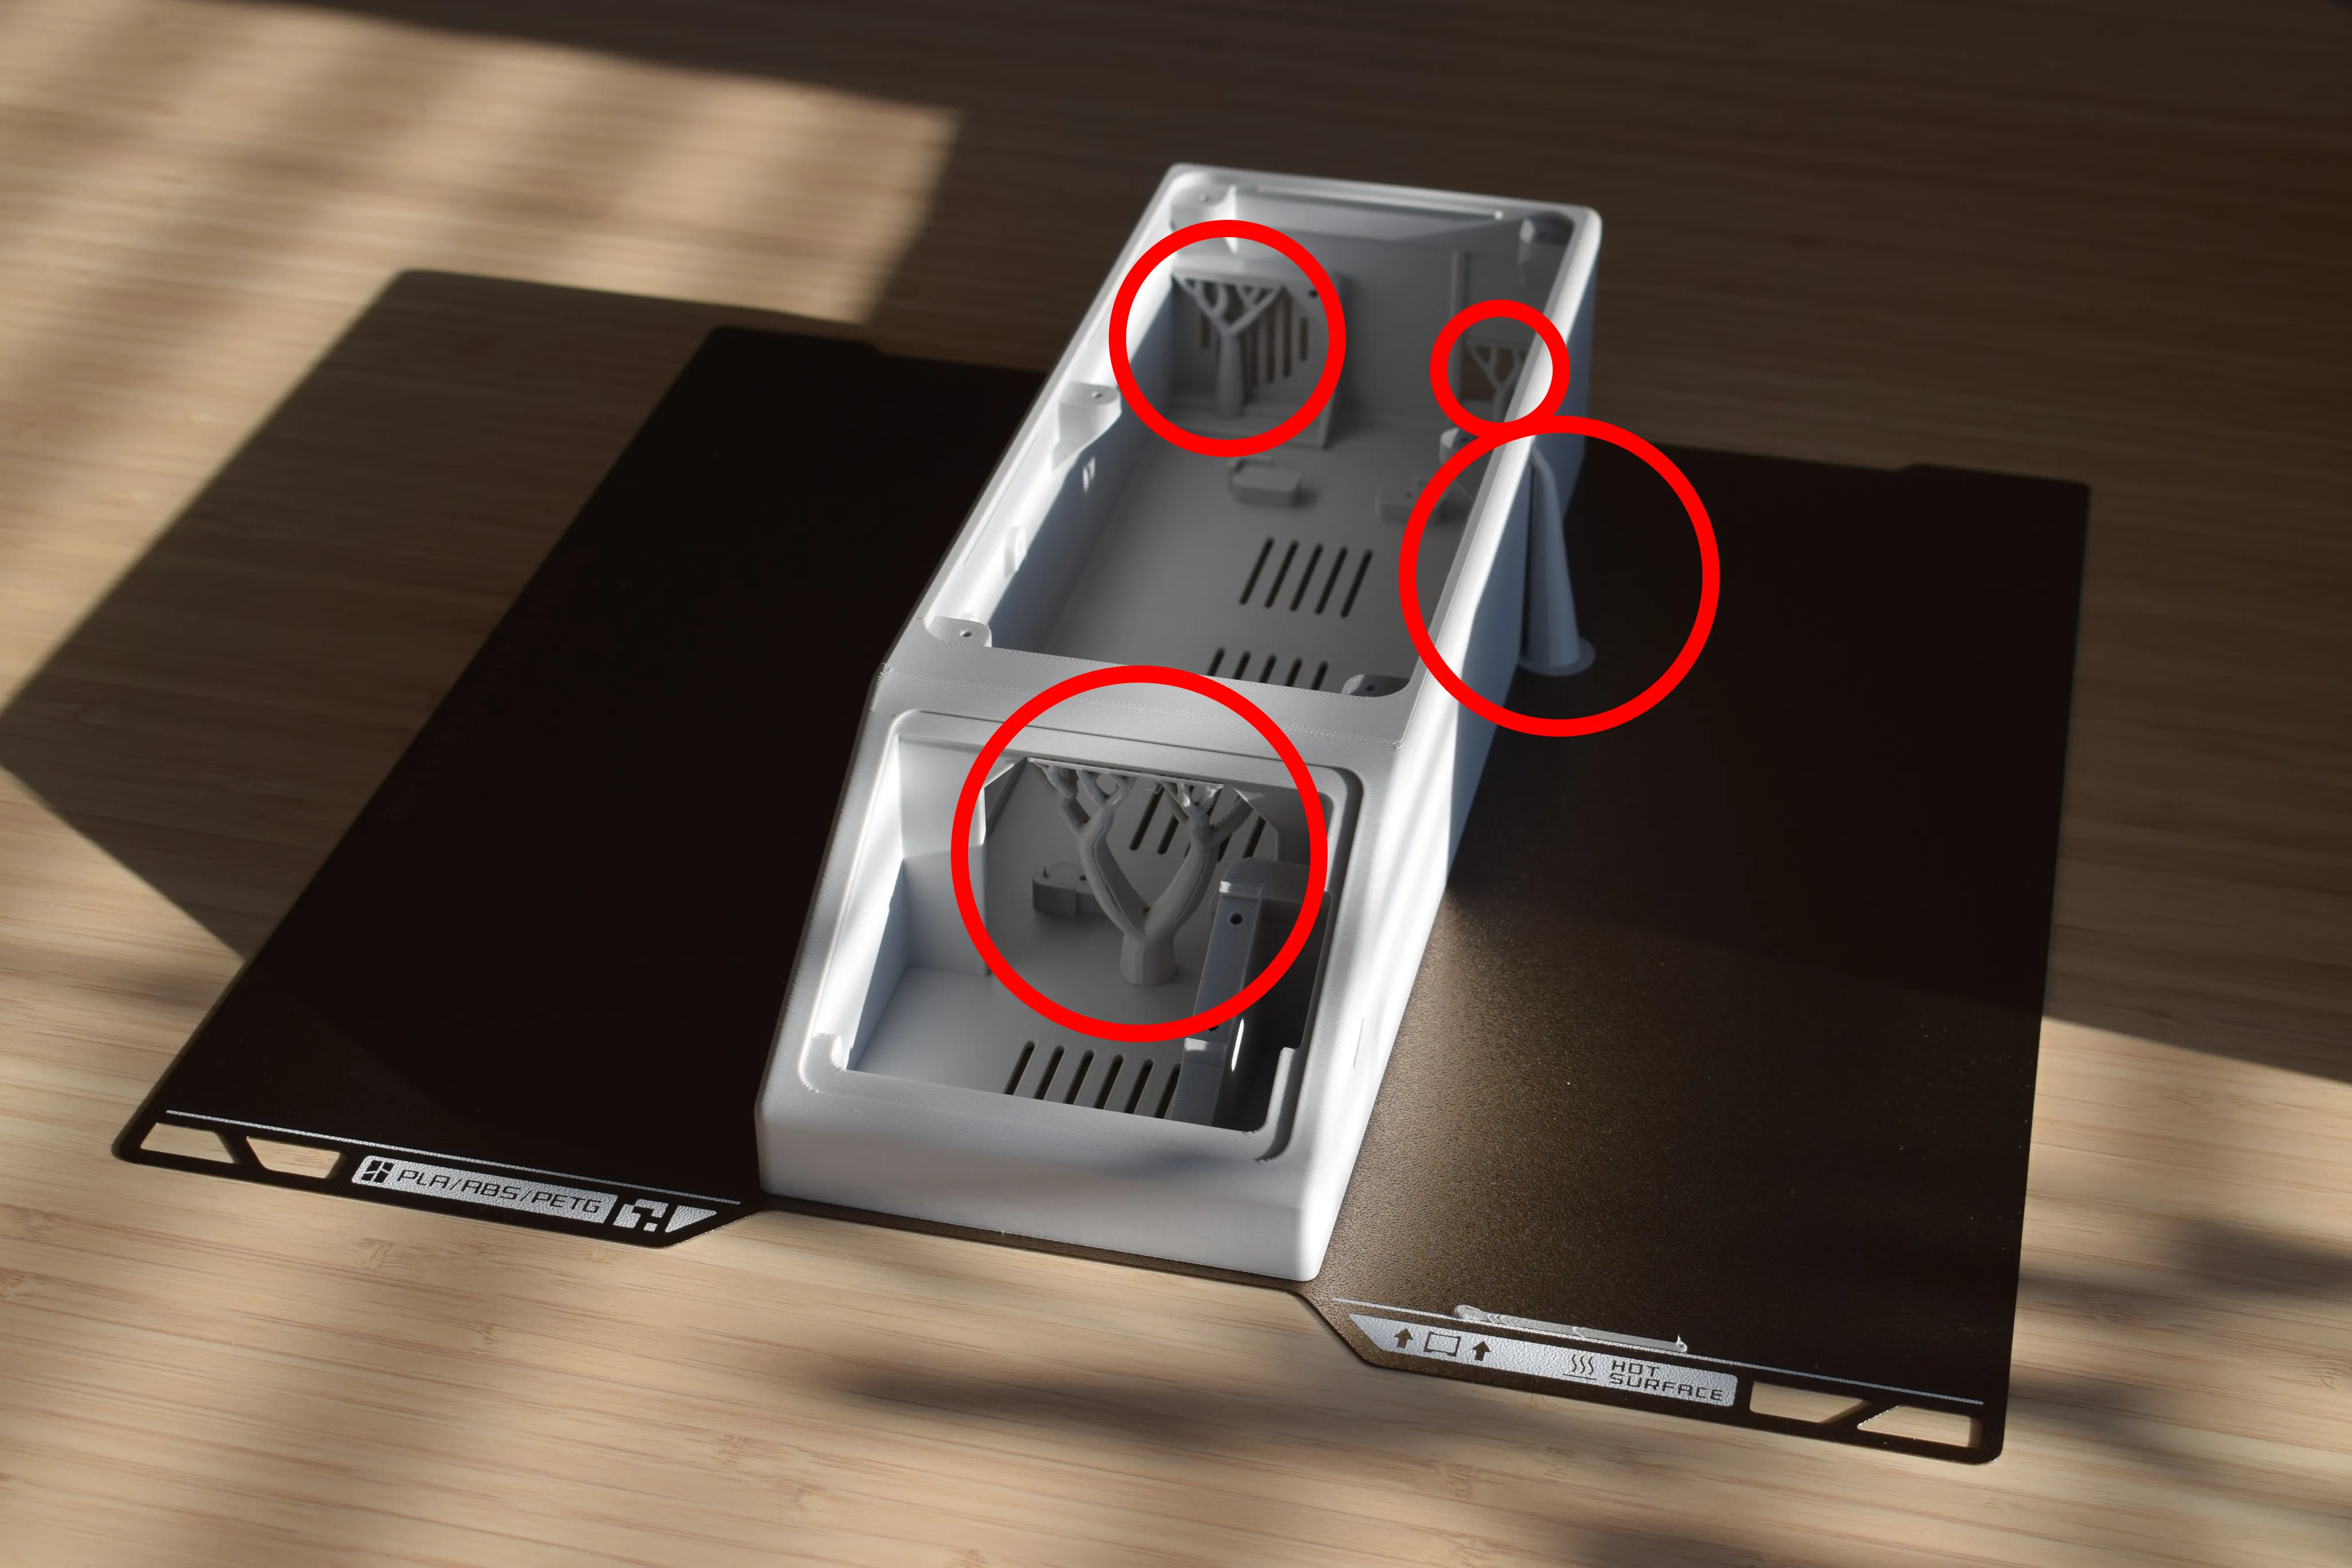
Use your hands or a pair of pliers to snap off the supports. They should break away cleanly. If any small stubs remain, trim them with flush cutters.
Step 2: Removing bottom support material
Flip the housing over. Remove the support material from the four feet locations on the bottom, as shown below.
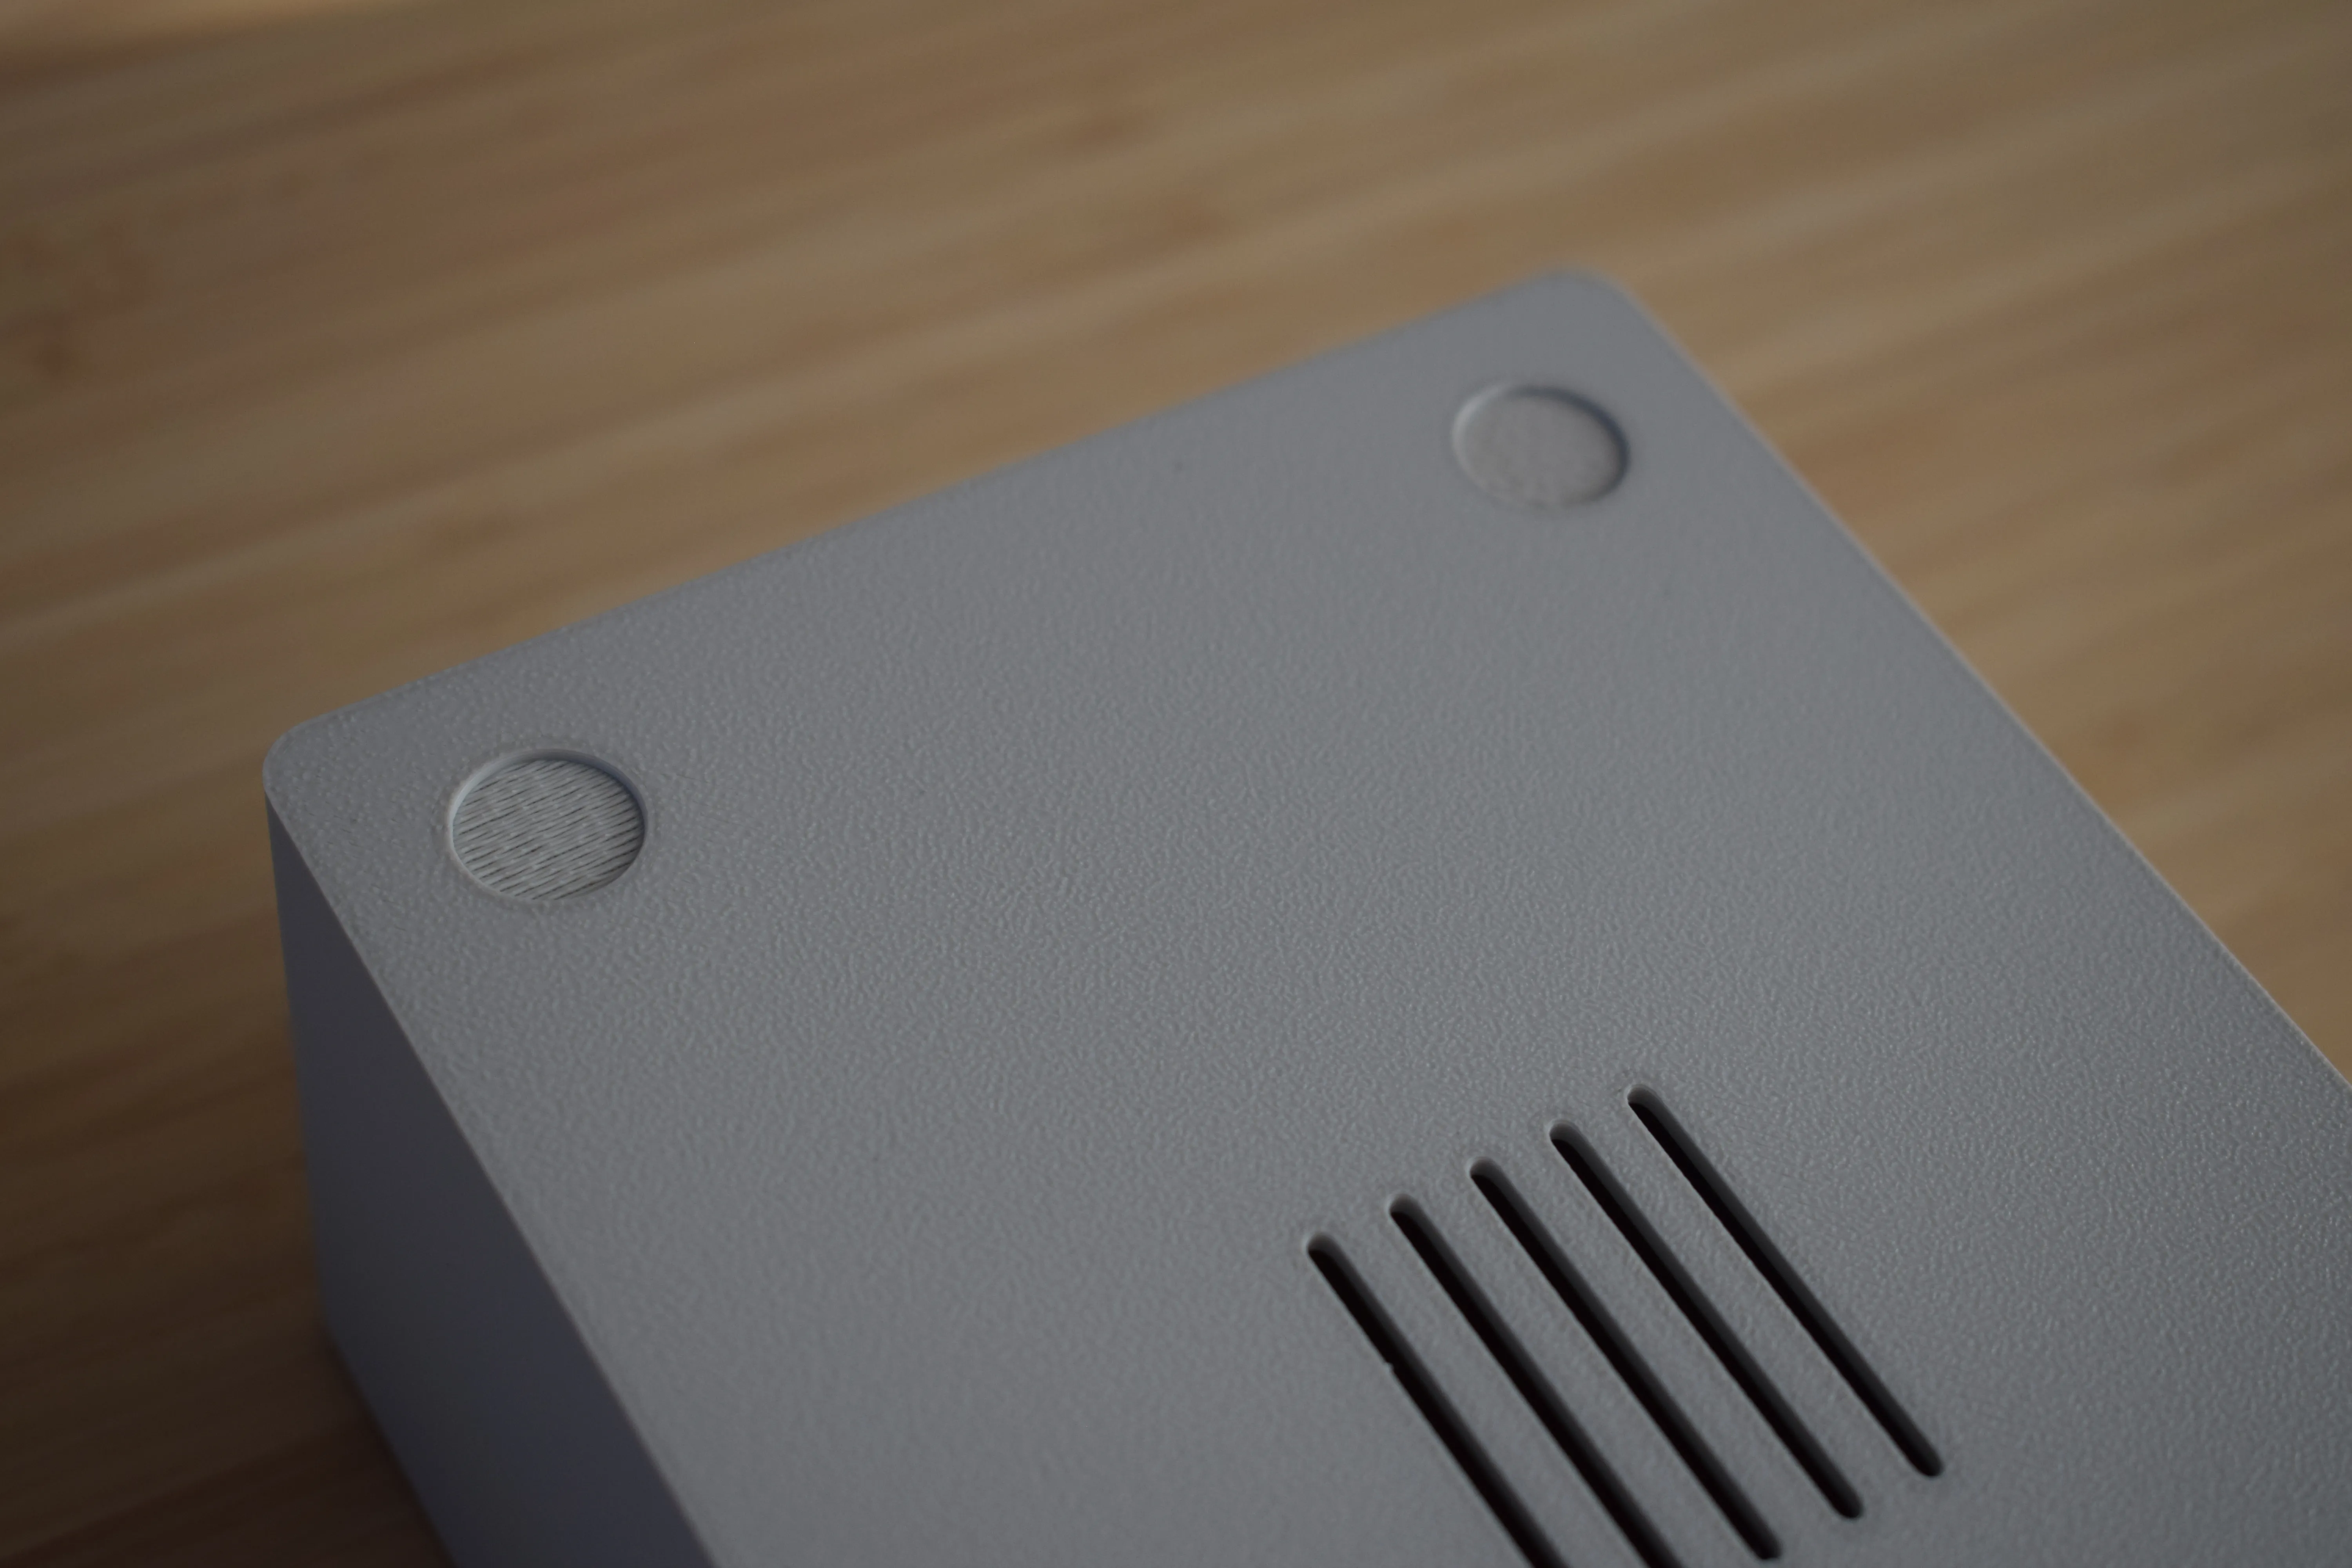
These supports are small and should be easy to remove using a flat tool or your fingernail.
Congratulations! You have completed the housing preparation. Before continuing to the next chapter, take a moment to verify the following:
- All top support material has been removed from the inside of the housing
- All bottom support material has been removed from the four feet locations
- No leftover stubs are sticking out that could interfere with component placement
Check your work
Run your fingers along the inside of the housing to make sure no leftover support material is sticking out. Any remaining stubs can interfere with component placement later on.