Introduction
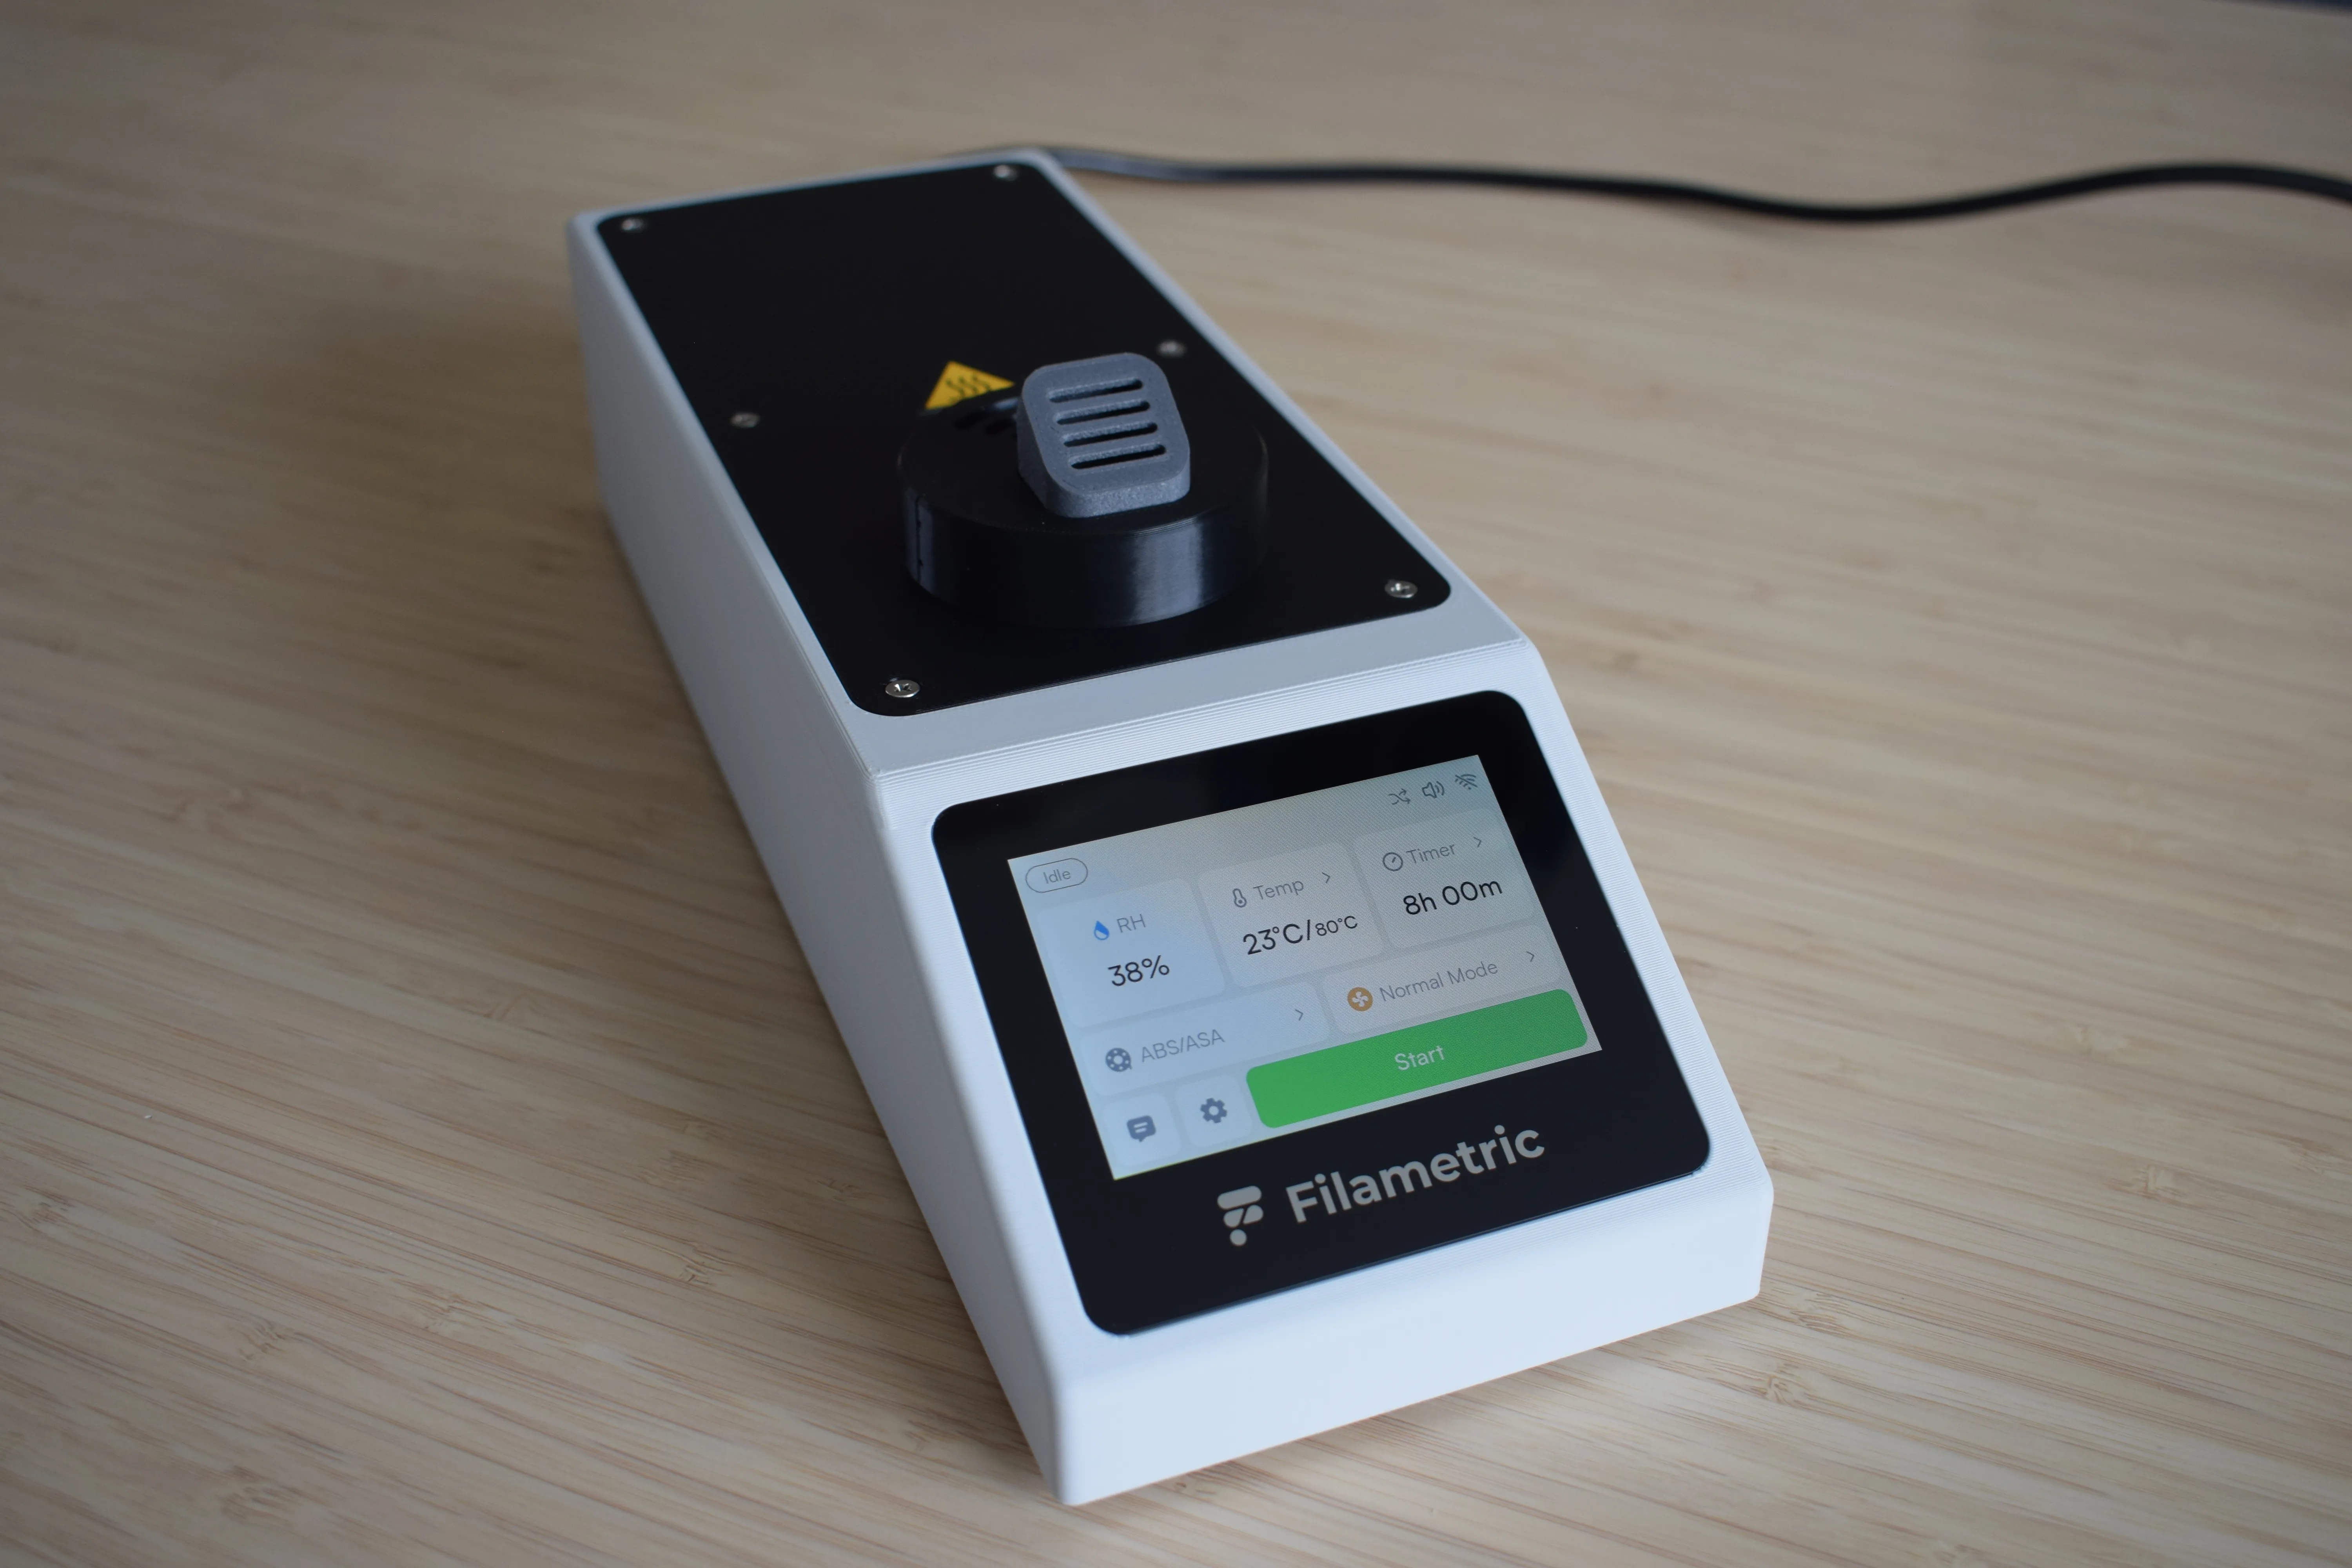
The DryBase was designed for one purpose: to dry filament properly. Not just warm it up, but actually remove moisture, at temperatures high enough to make a real difference for engineering-grade materials. At the same time, we wanted it to stay compact and compatible with the well-known affordable cereal containers the community already loves. The result is DryBase.
These instructions will guide you through the full assembly process, step by step. Each chapter covers a distinct part of the build, and every step includes reference images so you always know what a correct result looks like.
What's ahead
The assembly is split into six chapters. You'll start by checking your kit contents, then work your way through preparing, building, and finally putting everything together.
| Chapter | What you'll do | |
|---|---|---|
| 1 | Unboxing & checking components | Verify your kit contents and gather the required tools |
| 2 | Preparing the DryBase housing | Remove all support material from the 3D-printed housing |
| 3 | Housing assembly | Install the PSU, exhaust fan, circuit boards and display into the housing |
| 4 | Heating unit assembly | Assemble the heating element enclosure, blower fan, container adapter and exhaust port onto the baseplate |
| 5 | DryBase assembly | Connect all cables, install the heating unit into the housing and power on |
| 6 | Drybox assembly | Modify the cereal container and install the spool holder, filament exit ports and pneumatic fittings |
Before you begin
You will need a clean, flat surface and about 3 hours to complete all chapters. The kit includes most of what you need. A small number of items are not included and are listed in Chapter 1 for the DryBase and Chapter 6 for the drybox.
Take your time
If something doesn't fit or look right, stop and check before continuing. A little patience here saves a lot of trouble later.
Need help?
If you run into any issues, reach out at support@filametric.com. We're happy to help.